You step into the hallway in socks and feel it before you see it. A wet patch under the air handler, maybe a brown halo spreading across the ceiling below. Not great.
Here’s the reassuring part. An AC leaking water inside the house is hardly ever the disaster it looks like. Nine times out of ten it’s a drainage problem, and a couple of those you can knock out tonight with a shop vac and a jug of vinegar. The trick is knowing which kind of leak you’re staring at before you start pulling things apart.
First thing, before you read another word: kill the system at the thermostat. Running it while water pools just keeps shoving more condensation into a system that already can’t drain, and water sitting near electrical bits is asking for trouble.
Your AC Is Secretly a Dehumidifier
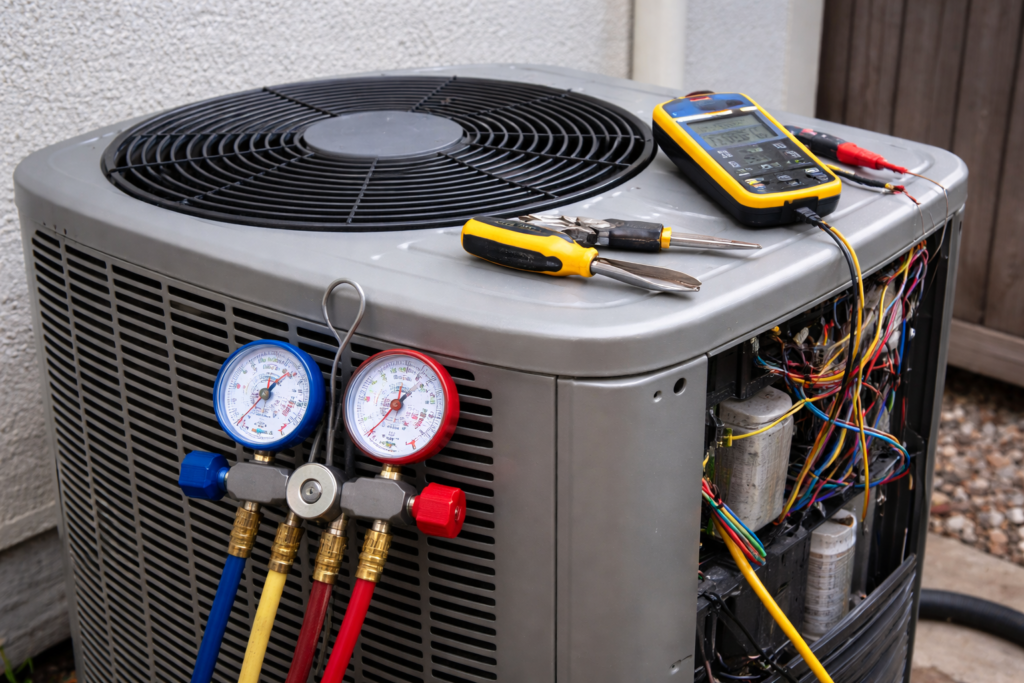
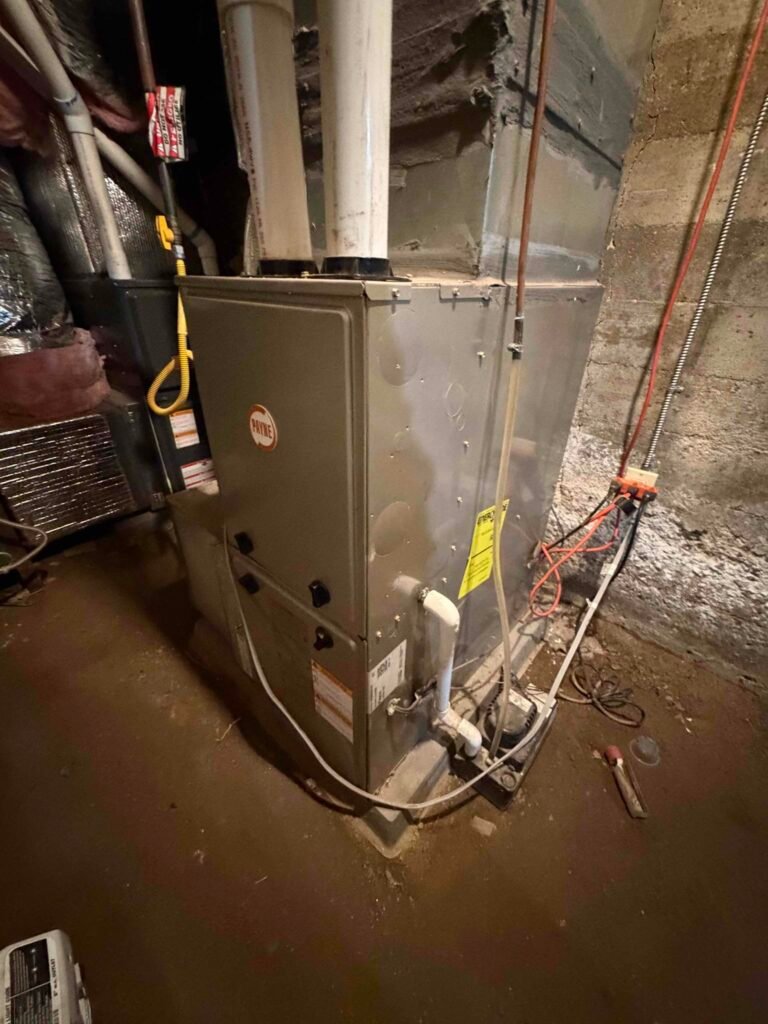
This part trips people up. Your air conditioner doesn’t just cool the air, it wrings the moisture out of it. Warm household air rolls across the freezing-cold evaporator coil, water beads up on the metal the way it does on a glass of iced tea in August, and those drops run into a pan and out a drain line to the yard.
On a humid Long Beach afternoon, a healthy system can pull several gallons out of your indoor air in a day. Gallons. You never notice because it all leaves quietly through that one little pipe. A leak just means the pipe, the pan, or the coil stopped doing its job somewhere along the line.
The Usual Suspects
1. A Clogged Condensate Drain Line
This is the big one. If I had to bet money on your leak before walking in the door, I’d bet here.
The condensate line is a skinny PVC pipe, and it spends its life dark and damp, which is exactly what algae and slime love. Add a little dust and it eventually corks itself shut. Once water can’t get past the clog, the pan fills, and then it just goes over the edge and into your house.
Good news is you can often clear it yourself. Hold a wet/dry vacuum against the outdoor end of the line, ball up a rag around the connection so you get a real seal, and run it for two minutes. You’ll usually hear the gunk let go. To keep it from coming back, pour about a quarter cup of plain white vinegar into the drain access port every couple of months in cooling season. If the vacuum does nothing, the clog’s deeper than you can reach and you’ll want a tech with a proper drain snake.
2. A Filthy Filter That Froze the Coil
A filter packed with dust starves the coil of warm air. Without that warm air moving across it, the coil gets colder and colder until it ices over. Everything seems fine for a while. Then the system shuts off, all that ice melts at once, and the pan can’t keep up with the flood.
Pull the filter and hold it up to a window. If you can barely see light through it, that’s your answer. I’ve pulled filters out of coastal homes that looked more like gray felt pads than air filters, and the owners swore they’d changed it “recently.” Ocean wind drives fine grit and pollen indoors all summer here, so every 30 days is a fair schedule, not an overcautious one.
3. A Cracked or Rusted-Out Drain Pan
The pan sits under the coil and catches all that condensation. Older systems used metal pans, and metal, given enough years of standing water, rusts straight through. When that happens the water skips the pan and heads for whatever’s underneath, usually your ceiling.
If you see standing water sitting next to rust streaks or a thin crack, the pan’s done. This one’s not a DIY job. Swapping it means opening up the air handler, so call someone.
4. A Drain Line That Came Loose or Sits Wrong
Had the system serviced or moved lately? A fitting may have worked loose. Even a small gap lets water dribble behind the wall instead of out the pipe, and you won’t see it until the drywall tells on it. A line installed without enough downhill slope does the same thing, because the water just sits in the pipe instead of leaving.
Look at the visible PVC where it exits the air handler. Moisture at a joint, or a gap you can see daylight through, points right at the problem. Re-pitching and reconnecting it is a tech’s job.
5. Low Refrigerant
When the refrigerant charge drops, the pressure in the coil falls and the coil runs colder than designed. Back to the freeze-and-flood cycle, except now there’s a nastier thing underneath it: a leak in a system that’s supposed to never lose refrigerant at all.
Heads up: don’t try to add refrigerant yourself. Handling it legally takes EPA Section 608 certification, and topping off a leaking system without finding the leak first is throwing money into the air. A licensed tech has to find the leak, fix the line, and recharge to the manufacturer’s number.
6. Closed-Off Vents
Last one, and it’s almost too simple. Close too many registers in spare rooms, or leave a sofa parked over a floor vent, and you choke the airflow across the coil. Same icing problem as a dirty filter. Walk the house and open everything up.
What to Do the Second You Find the Leak
- Shut it off at the thermostat and flip the breaker. No power near the water.
- Mop up the standing water before it gets into the drywall or wood floor.
- Check the filter. If it’s dirty, swap it.
- Look in the drain pan for water, cracks, or rust.
- Clear the drain line from the outdoor end with a wet/dry vacuum.
- Pour a cup of water into the pan. It should drain fast. If it just sits there, the line’s still plugged.
- Turn it back on and watch it for half an hour.
If the water comes back, or you spot an oily film near the copper lines, stop. That oil means refrigerant, and that’s a phone call, not a project.
When to Just Call Somebody
Clearing the line and changing the filter handles most household leaks. Bring in a licensed tech when:
- The pan’s cracked or heavily rusted.
- The leak comes right back after you’ve cleared the line.
- There’s ice on the indoor or outdoor copper lines.
- You smell something burning or electrical near the water.
- The ceiling’s already stained or the drywall feels spongy.
Water damage doesn’t wait around. In our warm, sticky climate a small ceiling stain can turn into a mold problem in two or three days, so a quick fix is almost always the cheap fix.
Keeping It From Happening Again
- Change the filter every 30 days in summer.
- Pour white vinegar down the condensate drain every couple of months.
- Book a spring tune-up before the heat lands.
- Ask about a float switch if you don’t have one. It shuts the unit off the instant the pan fills, which stops an overflow before it starts. Cheap insurance.
- Keep the supply and return vents open.
Frequently Asked Questions
Is it normal for my AC to make any water at all?
Yes, completely. Condensation on the coil is the system doing its job, and that water’s supposed to drain outside through the line. Water dripping or pooling inside your living space is the part that’s never normal.
How much does AC water leak repair cost?
Clearing a blocked line is the cheap end. A cracked pan costs more because of the labor to get at it. A refrigerant leak is the priciest of the three, since it all depends on where the leak hides and how much refrigerant the system needs. Any tech worth hiring will give you a written number before they start.
Can a leaking AC cause mold?
It can, and fast. In our warm, damp conditions mold can take hold in a day or two. If your leak went unnoticed for a stretch, it’s worth having the area checked for mold while the HVAC repair is happening anyway.
Should I keep running it while it leaks?
No. Off. Running a leaking system spills more water, risks electrical damage, and can wreck the coil if the unit’s frozen.
A leaking air conditioner is the kind of problem that quietly doubles in price every week you ignore it. So start simple. Cut the power, change the filter, try to clear the condensate drain line. If the water keeps coming after that, call a licensed local tech instead of guessing your way deeper into it. Figuring out the real source early, a clog versus a failed pan versus a refrigerant leak, is the whole difference between a small bill and a big one. Our crew handles AC water leak repair across Long Beach and can usually name the cause on the first visit.